“`html
How to Grow Your Own Herbs Indoors
Growing your own herbs indoors not only adds a fresh flair to your cooking but also brings a touch of greenery to your living space. Whether you’re a newbie gardener or an experienced green thumb, cultivating herbs in your home can be rewarding and surprisingly simple. This guide will walk you through the essential steps to start your indoor herb garden, from selecting the right plants to ensuring optimum growth conditions. You’ll learn how to choose suitable containers, find the best spot for adequate sunlight, manage watering effectively, harvest without hindering growth, and understand when it is time to transplant your herbs. Follow these guidelines to enjoy a year-round supply of fresh herbs at your fingertips.
Pick the Right Plants
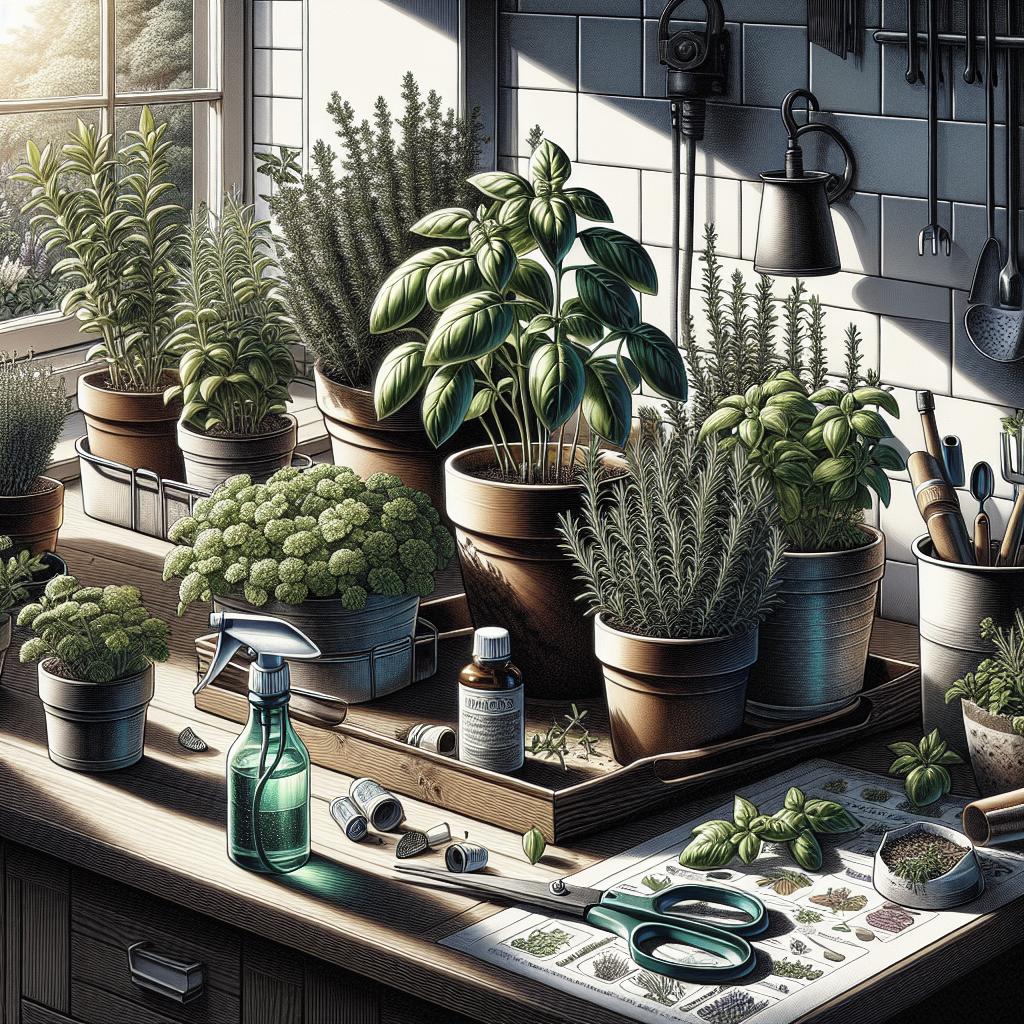
When starting an indoor herb garden, selecting the appropriate plants is crucial for success. Some herbs naturally adapt better to indoor environments than others. Consider growing basil, mint, chives, parsley, and thyme, which are renowned for their resilience and ease of care in confined spaces. These herbs not only thrive indoors but also provide a versatile range of flavors to enhance your culinary creations.
It’s also important to consider the culinary uses of the herbs you choose to grow. Think about the dishes you frequently prepare and select those herbs that you find yourself reaching for most often. For instance, basil is excellent for Italian cuisine, while mint can freshen up anything from salads to mojitos. This way, your indoor garden becomes an extension of your pantry, providing fresh flavors year-round.
Select a Container with Drainage
The container you use for growing herbs indoors makes a significant difference in their health and growth. Opt for pots that have adequate drainage holes to prevent root rot, a common issue in indoor gardening. Without proper drainage, water can pool in the bottom of the pot, causing the roots to become waterlogged and decay.
Additionally, consider the size and material of your containers. Smaller pots are great for windowsills, while larger ones may house more extensive root systems. Materials like terracotta are breathable, helping to regulate moisture levels, whereas plastic can be lighter and more versatile for moving around. Use your space wisely, and choose containers that suit both the plant size and your aesthetic preferences.
Choose the Sunniest Spot
Herbs require plenty of sunlight to thrive, ideally around 6-8 hours of light each day. Therefore, place your plants in the sunniest spot available, such as a south-facing window, which offers the brightest and most consistent sunlight. If natural light is scarce, consider supplementing with a grow light to mimic the sun’s rays.
Regularly rotating your pots can ensure even light distribution, which is essential for balanced growth. Many herbs tend to lean towards the light source, which can make them grow unevenly. By turning your pots every few days, you can encourage your plants to grow straight and uniformly, promoting healthier development.
Water—But Not Too Much
Herbs require regular watering, but it’s essential not to overdo it. Overwatering is a common mistake that can lead to root rot and other water-related issues. Check the soil moisture by sticking your finger about an inch into the soil; if it’s dry, it’s time to water. Generally, herbs prefer their soil to be slightly moist, not soggy.
Create a watering schedule that takes into account the specific needs of each herb. For example, drought-tolerant herbs like rosemary require less frequent watering compared to thirstier varieties like basil. Pay attention to the environmental conditions, as variations in temperature and humidity can affect water requirements and adjust your watering habits accordingly.
Harvest a Little at a Time
One of the joys of growing herbs is being able to harvest fresh leaves whenever you need them. To ensure continuous growth, it’s best to harvest a little at a time rather than removing all the leaves at once. Snip leaves starting from the top to encourage bushier growth and prevent the plant from becoming tall and leggy.
Regular harvesting not only keeps your herbs healthy but also boosts the plant’s life cycle and productivity. Be gentle and use clean, sharp scissors or pruning shears to avoid damaging the plant. With care and precision, your herbs will continue to replenish, ready for your next culinary adventure.
Transplant When Ready
As your herbs grow, they may outgrow their initial pots and require transplanting to ensure they have enough space to flourish. Look for signs like roots emerging from the drainage holes or a slow down in growth, which indicate that it’s time for a larger container. Transplanting allows the roots to expand and absorb more nutrients, promoting healthier foliage.
To transplant successfully, gently remove the herb from its current pot, loosen the root ball, and place it into a new container with fresh potting soil. Water thoroughly after transplanting to help the plant settle into its new home. Monitor your herb closely after the move as it adjusts, and continue to provide it with the necessary care it needs to thrive indoors.
Summary of Main Points
| Step | Description |
|---|---|
| Pick the Right Plants | Select herbs like basil, mint, chives, parsley, and thyme that thrive indoors. |
| Select a Container with Drainage | Choose containers with drainage holes and appropriate size and materials. |
| Choose the Sunniest Spot | Place herbs in a sunny spot or use a grow light for adequate light. |
| Water—But Not Too Much | Water herbs regularly, but avoid overwatering to prevent root rot. |
| Harvest a Little at a Time | Harvest sparingly to promote continuous growth and productivity. |
| Transplant When Ready | Repot your herbs when they outgrow their containers for better growth conditions. |
“`